

DIY Coconut Yogurt
Whether you’re vegan, lactose intolerant, or just trying to cut back on dairy, it can be challenging to find non-dairy counterparts to your favourite foods. Since going vegan six years ago, predominantly for health reasons, I do my best to avoid processed imitations as much as possible. Not only are most meat/dairy alternatives highly processed and full of questionable ingredients, they are freaking expensive.
Over the last six years, through a lot of trial and error, I have become a bit of a DIY expert, from homemade nut cheeses, to cashew milk, and my most recent dairy free incarnation: DIY coconut yogurt. I have tried a lot of store-bought alternatives and I have to say that they pale in comparison when it comes to deliciousness, good-for-you ingredients, and price.
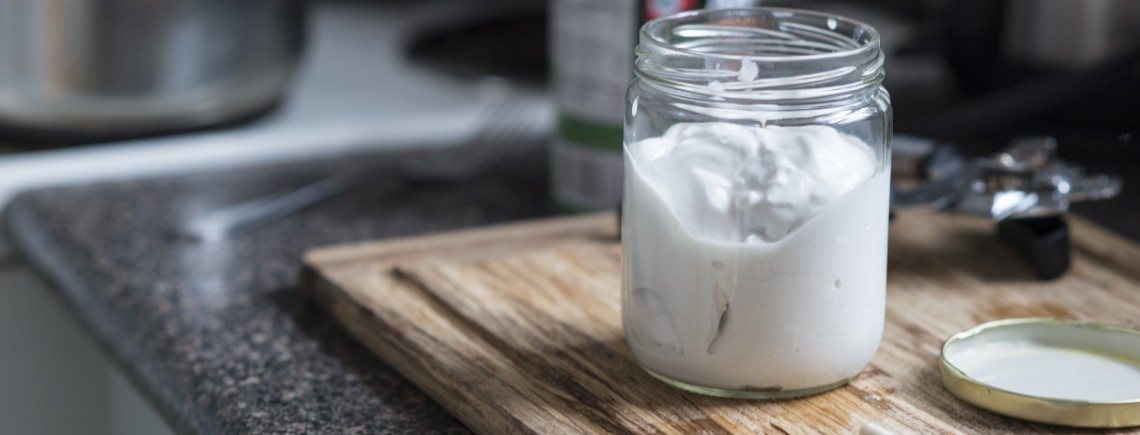
So before you go dropping hard earned cash-ola on less than awesome dairy-free yogurt, try my two-ingredient probiotic coco cream. You won’t believe how crazy simple and even crazier tasty it is!
INGREDIENTS
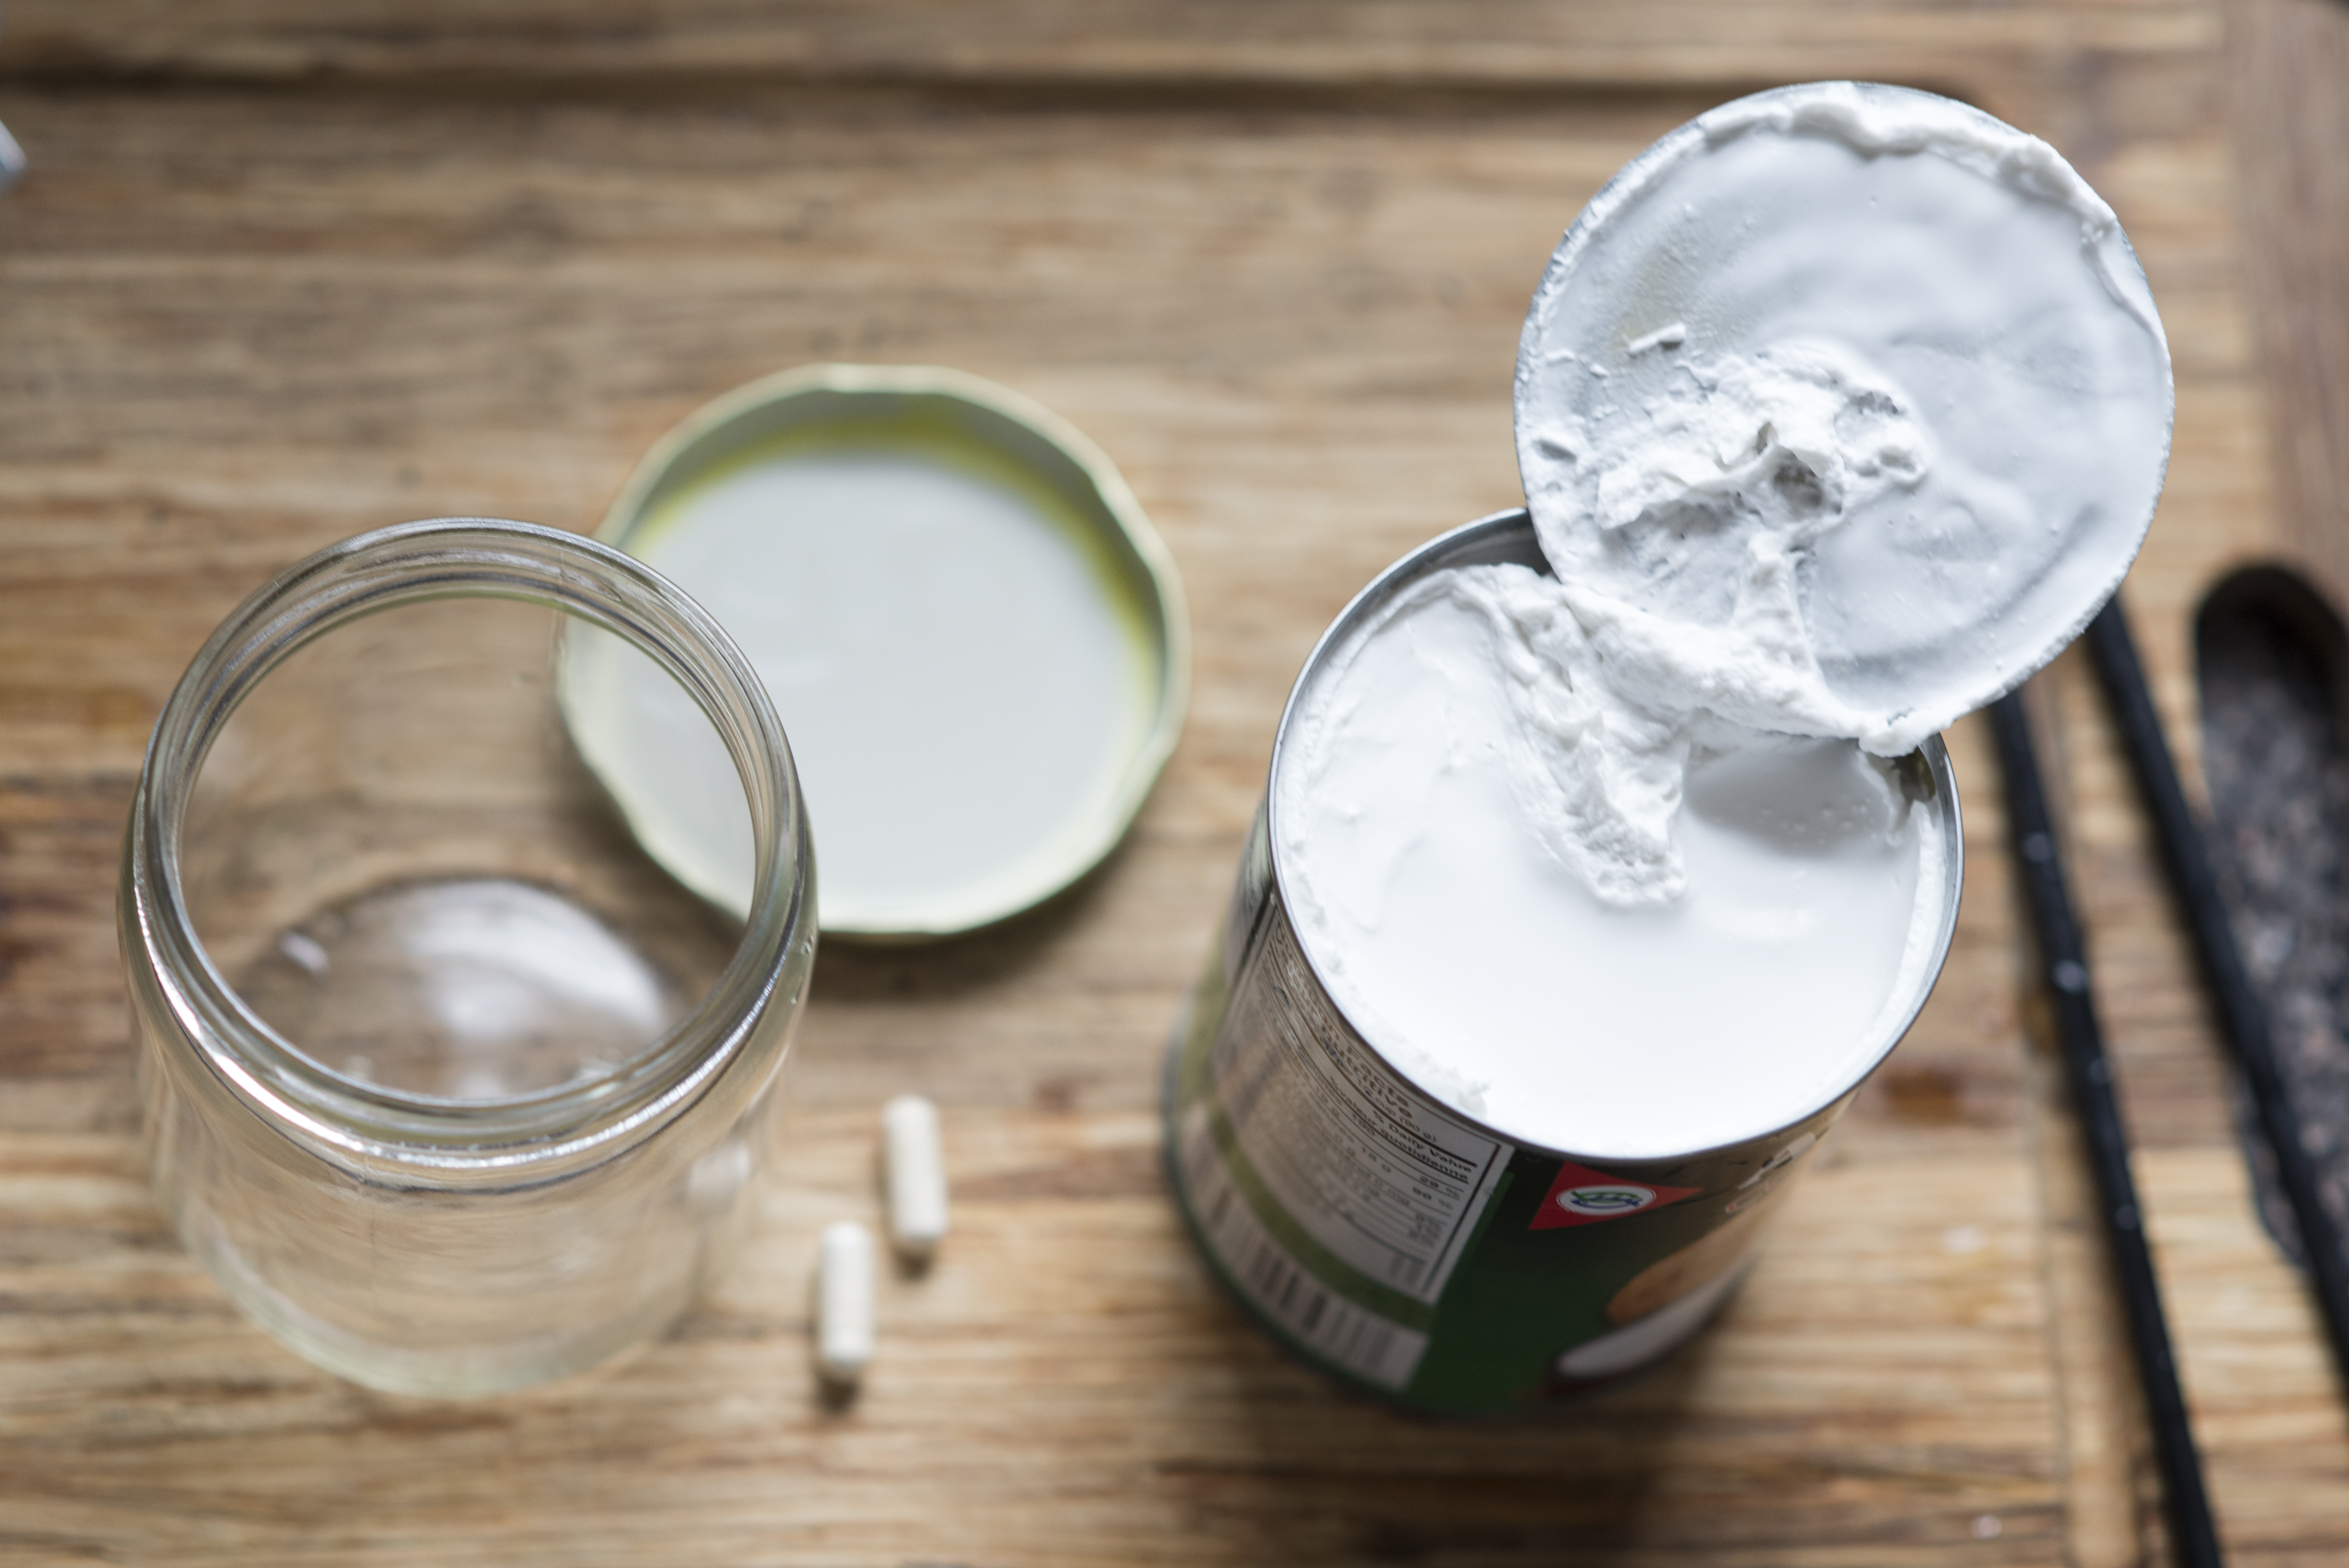
- 2 cans organic coconut milk (avoid cans with additives like guar gum)
- 2 probiotic capsules (must contain lactobacillus strain)
OPTIONAL INGREDIENTS
- Sweetener of choice (I find stevia drops and raw honey work best)
EQUIPMENT
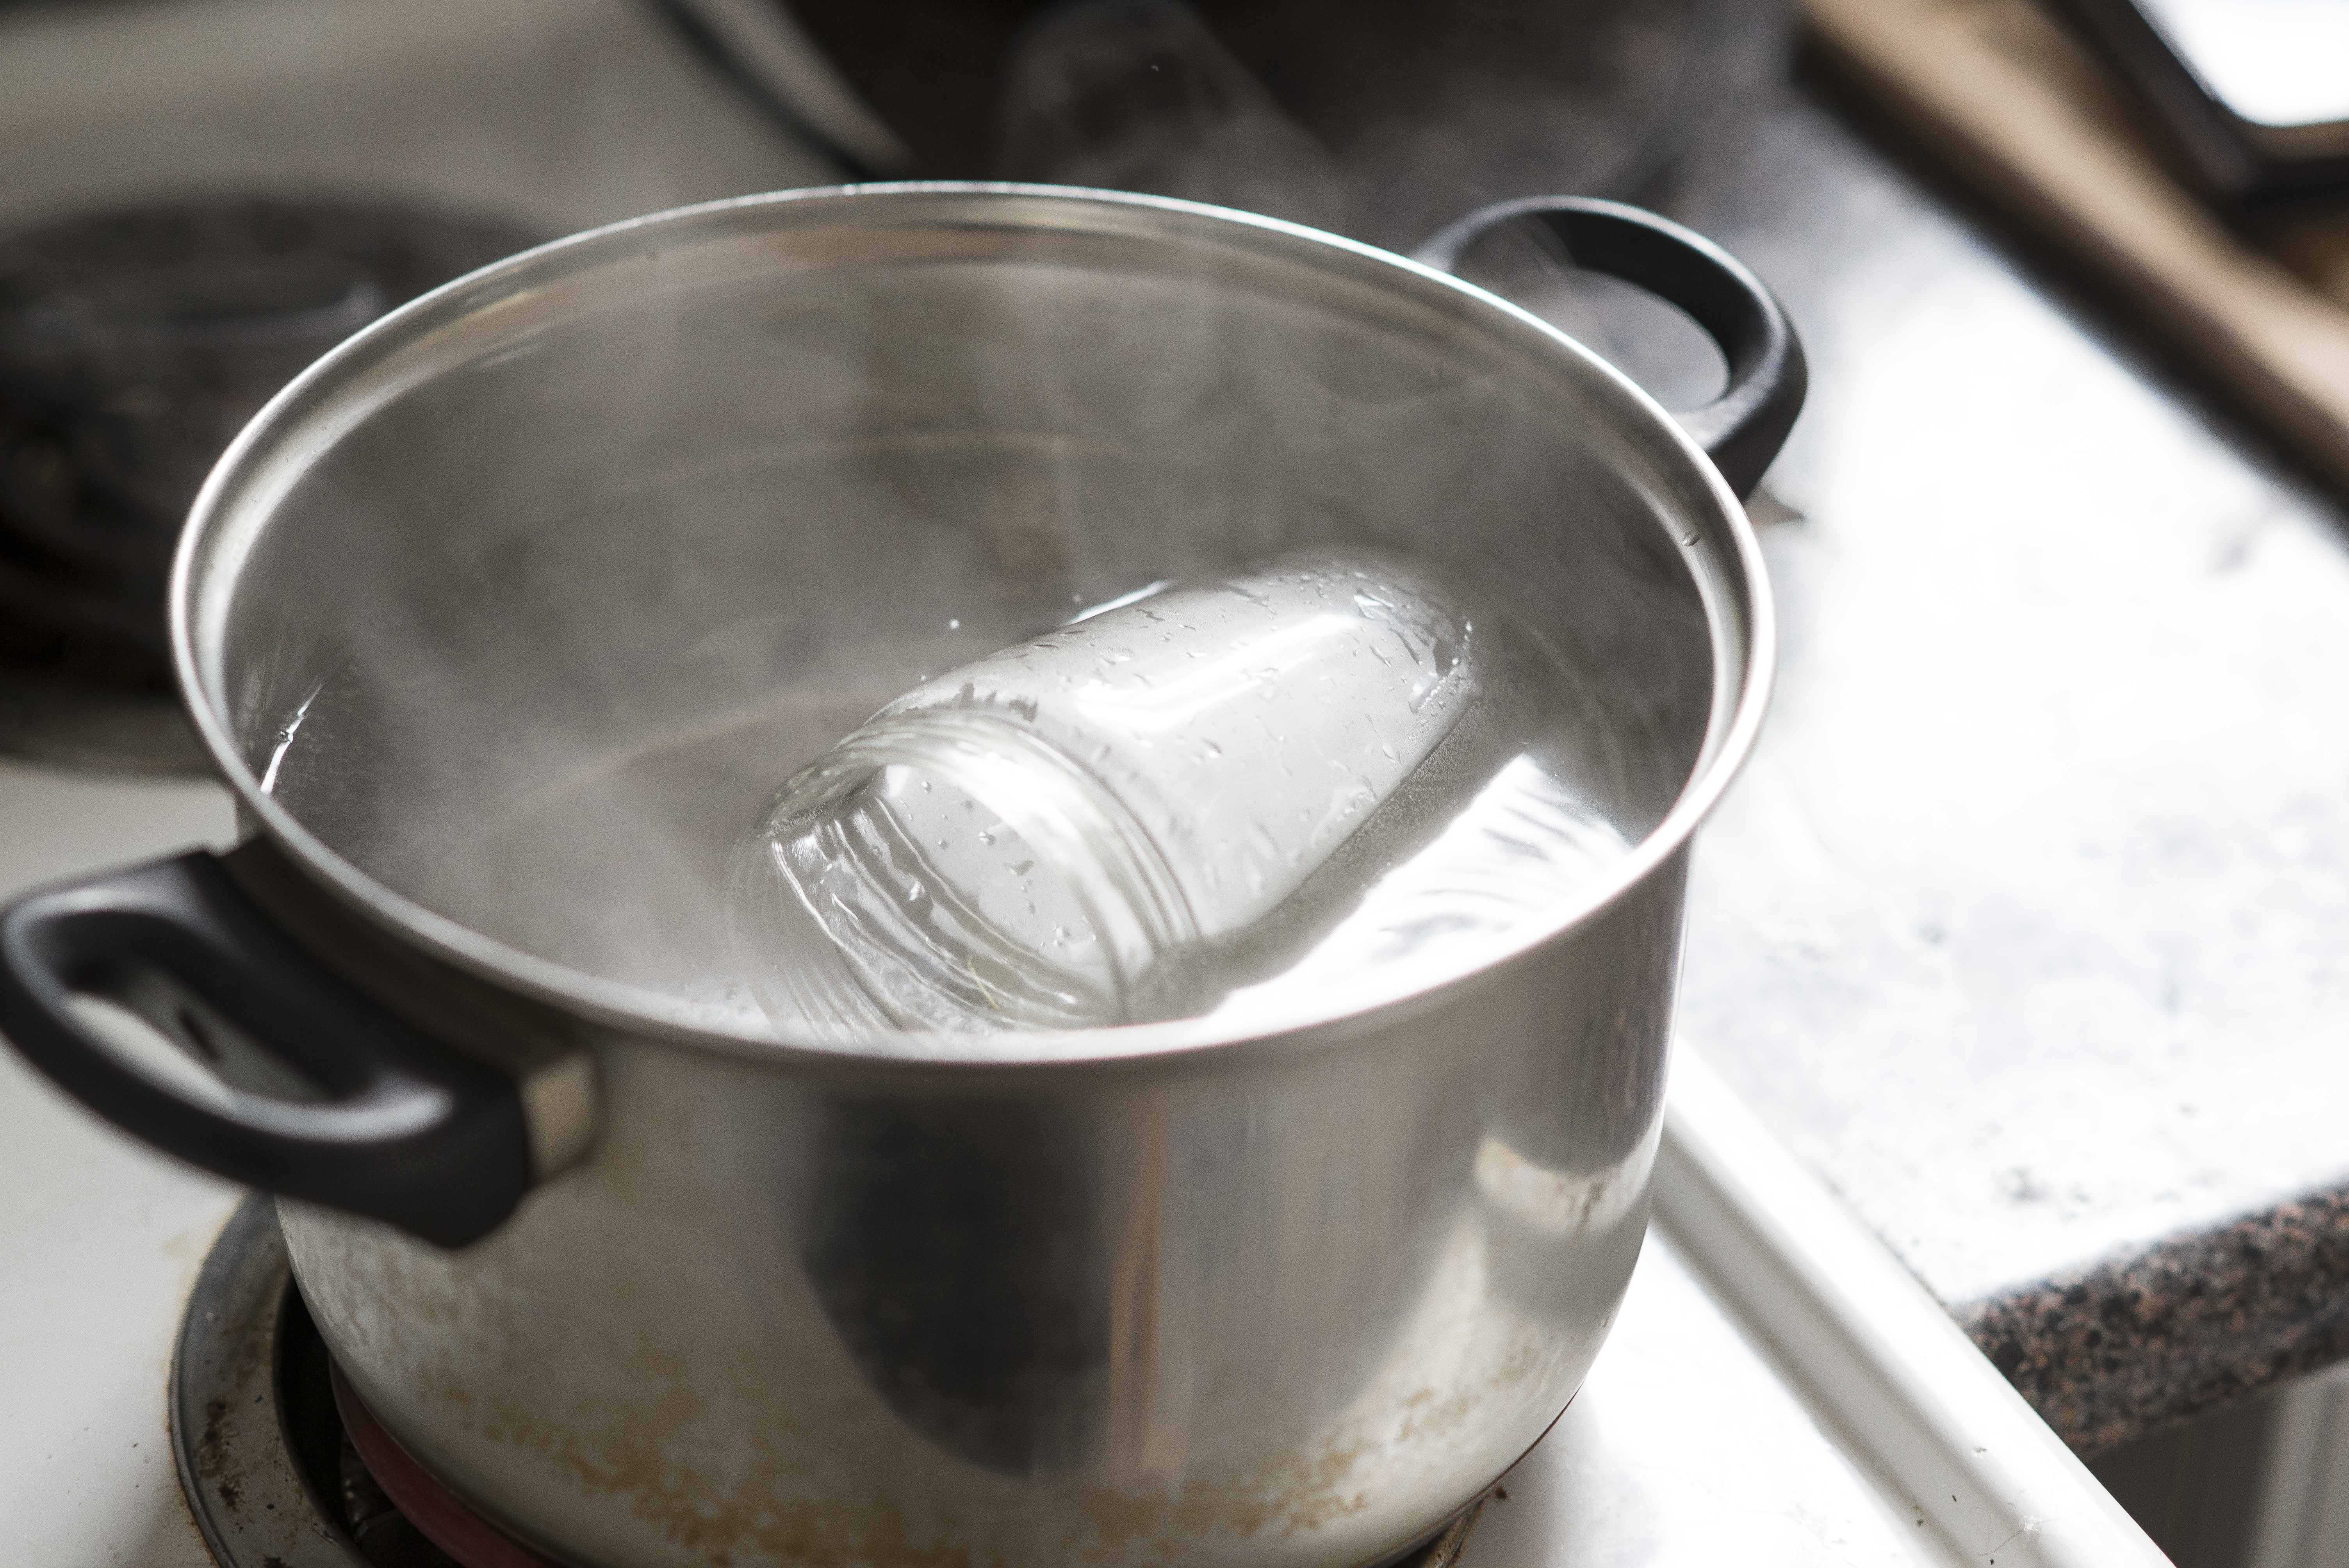
- Sterilized glass jar(s)
- Pot (for sterilizing jar)
- Fork
- Oven with oven light
HOW-TO
1) Refrigerate cans of coconut milk overnight so that the cream separates from the water.
2) Place jar in pot filled with water and bring to a boil to sterilize. Dry with a clean cloth*.
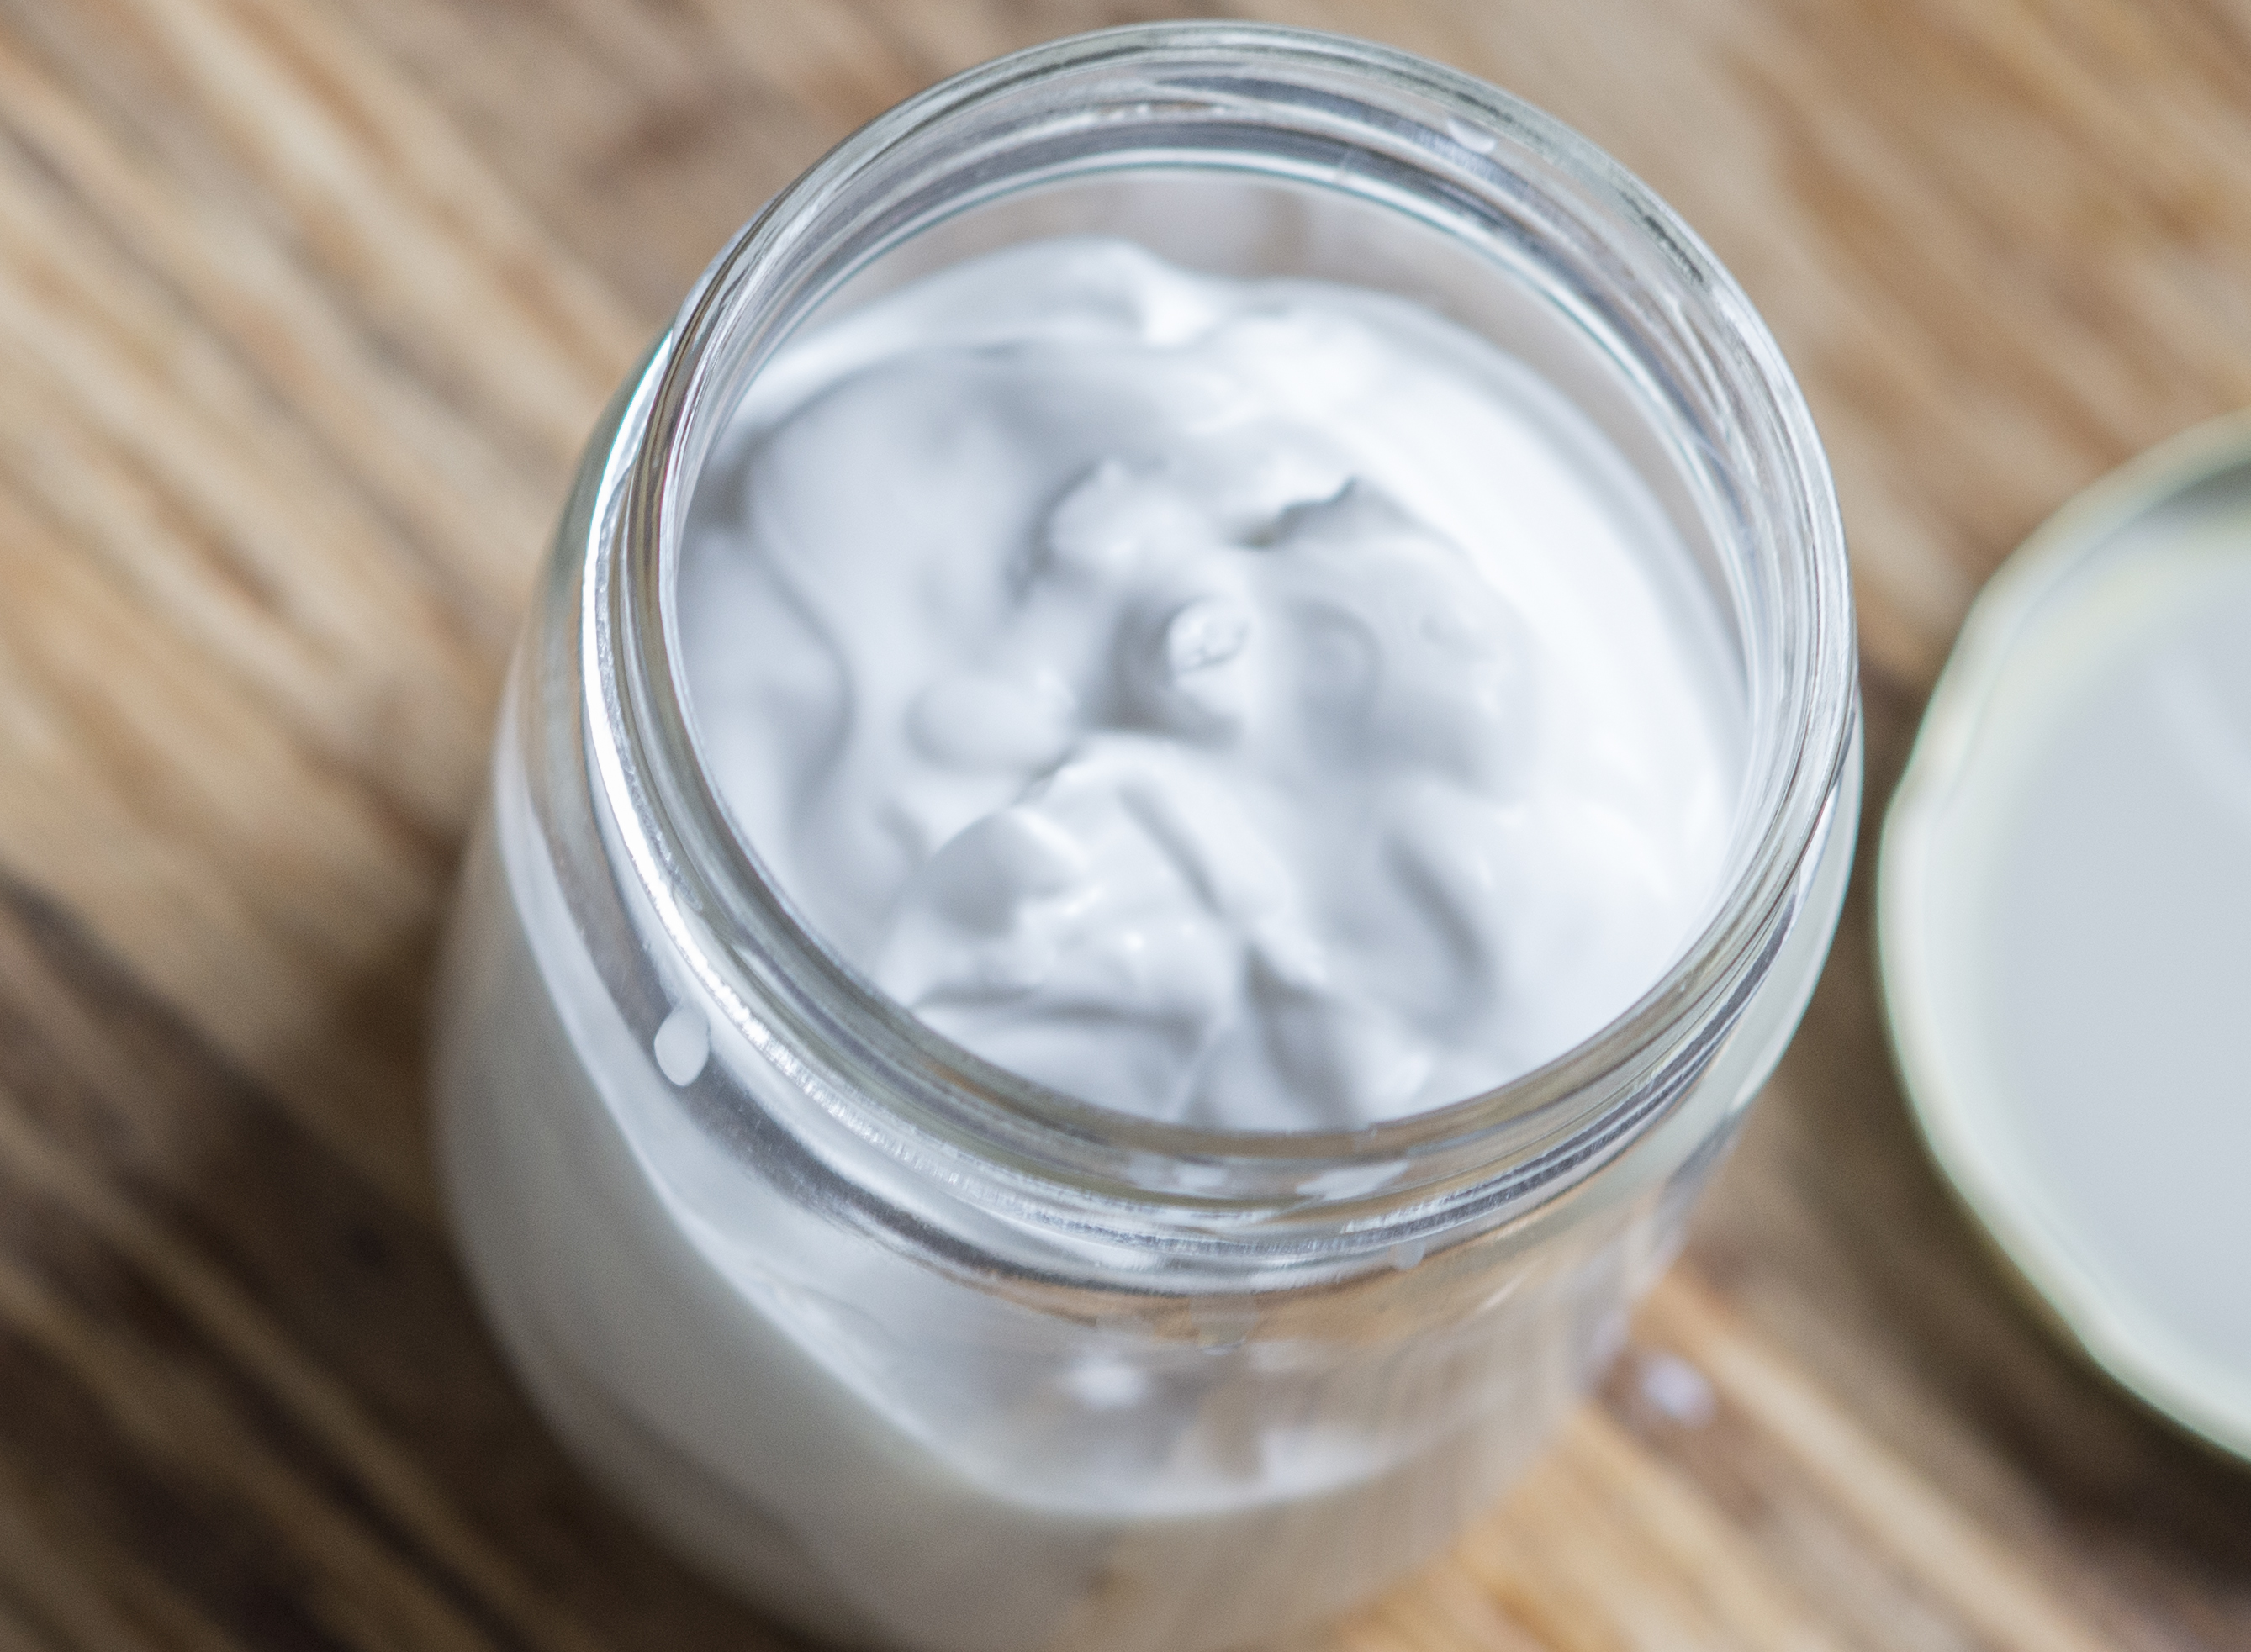
3) Open refrigerated coconut milk, remove the thick cream and place into sterilized jar. I usually save the coconut water left at the bottom for smoothies, or just drink it plain.
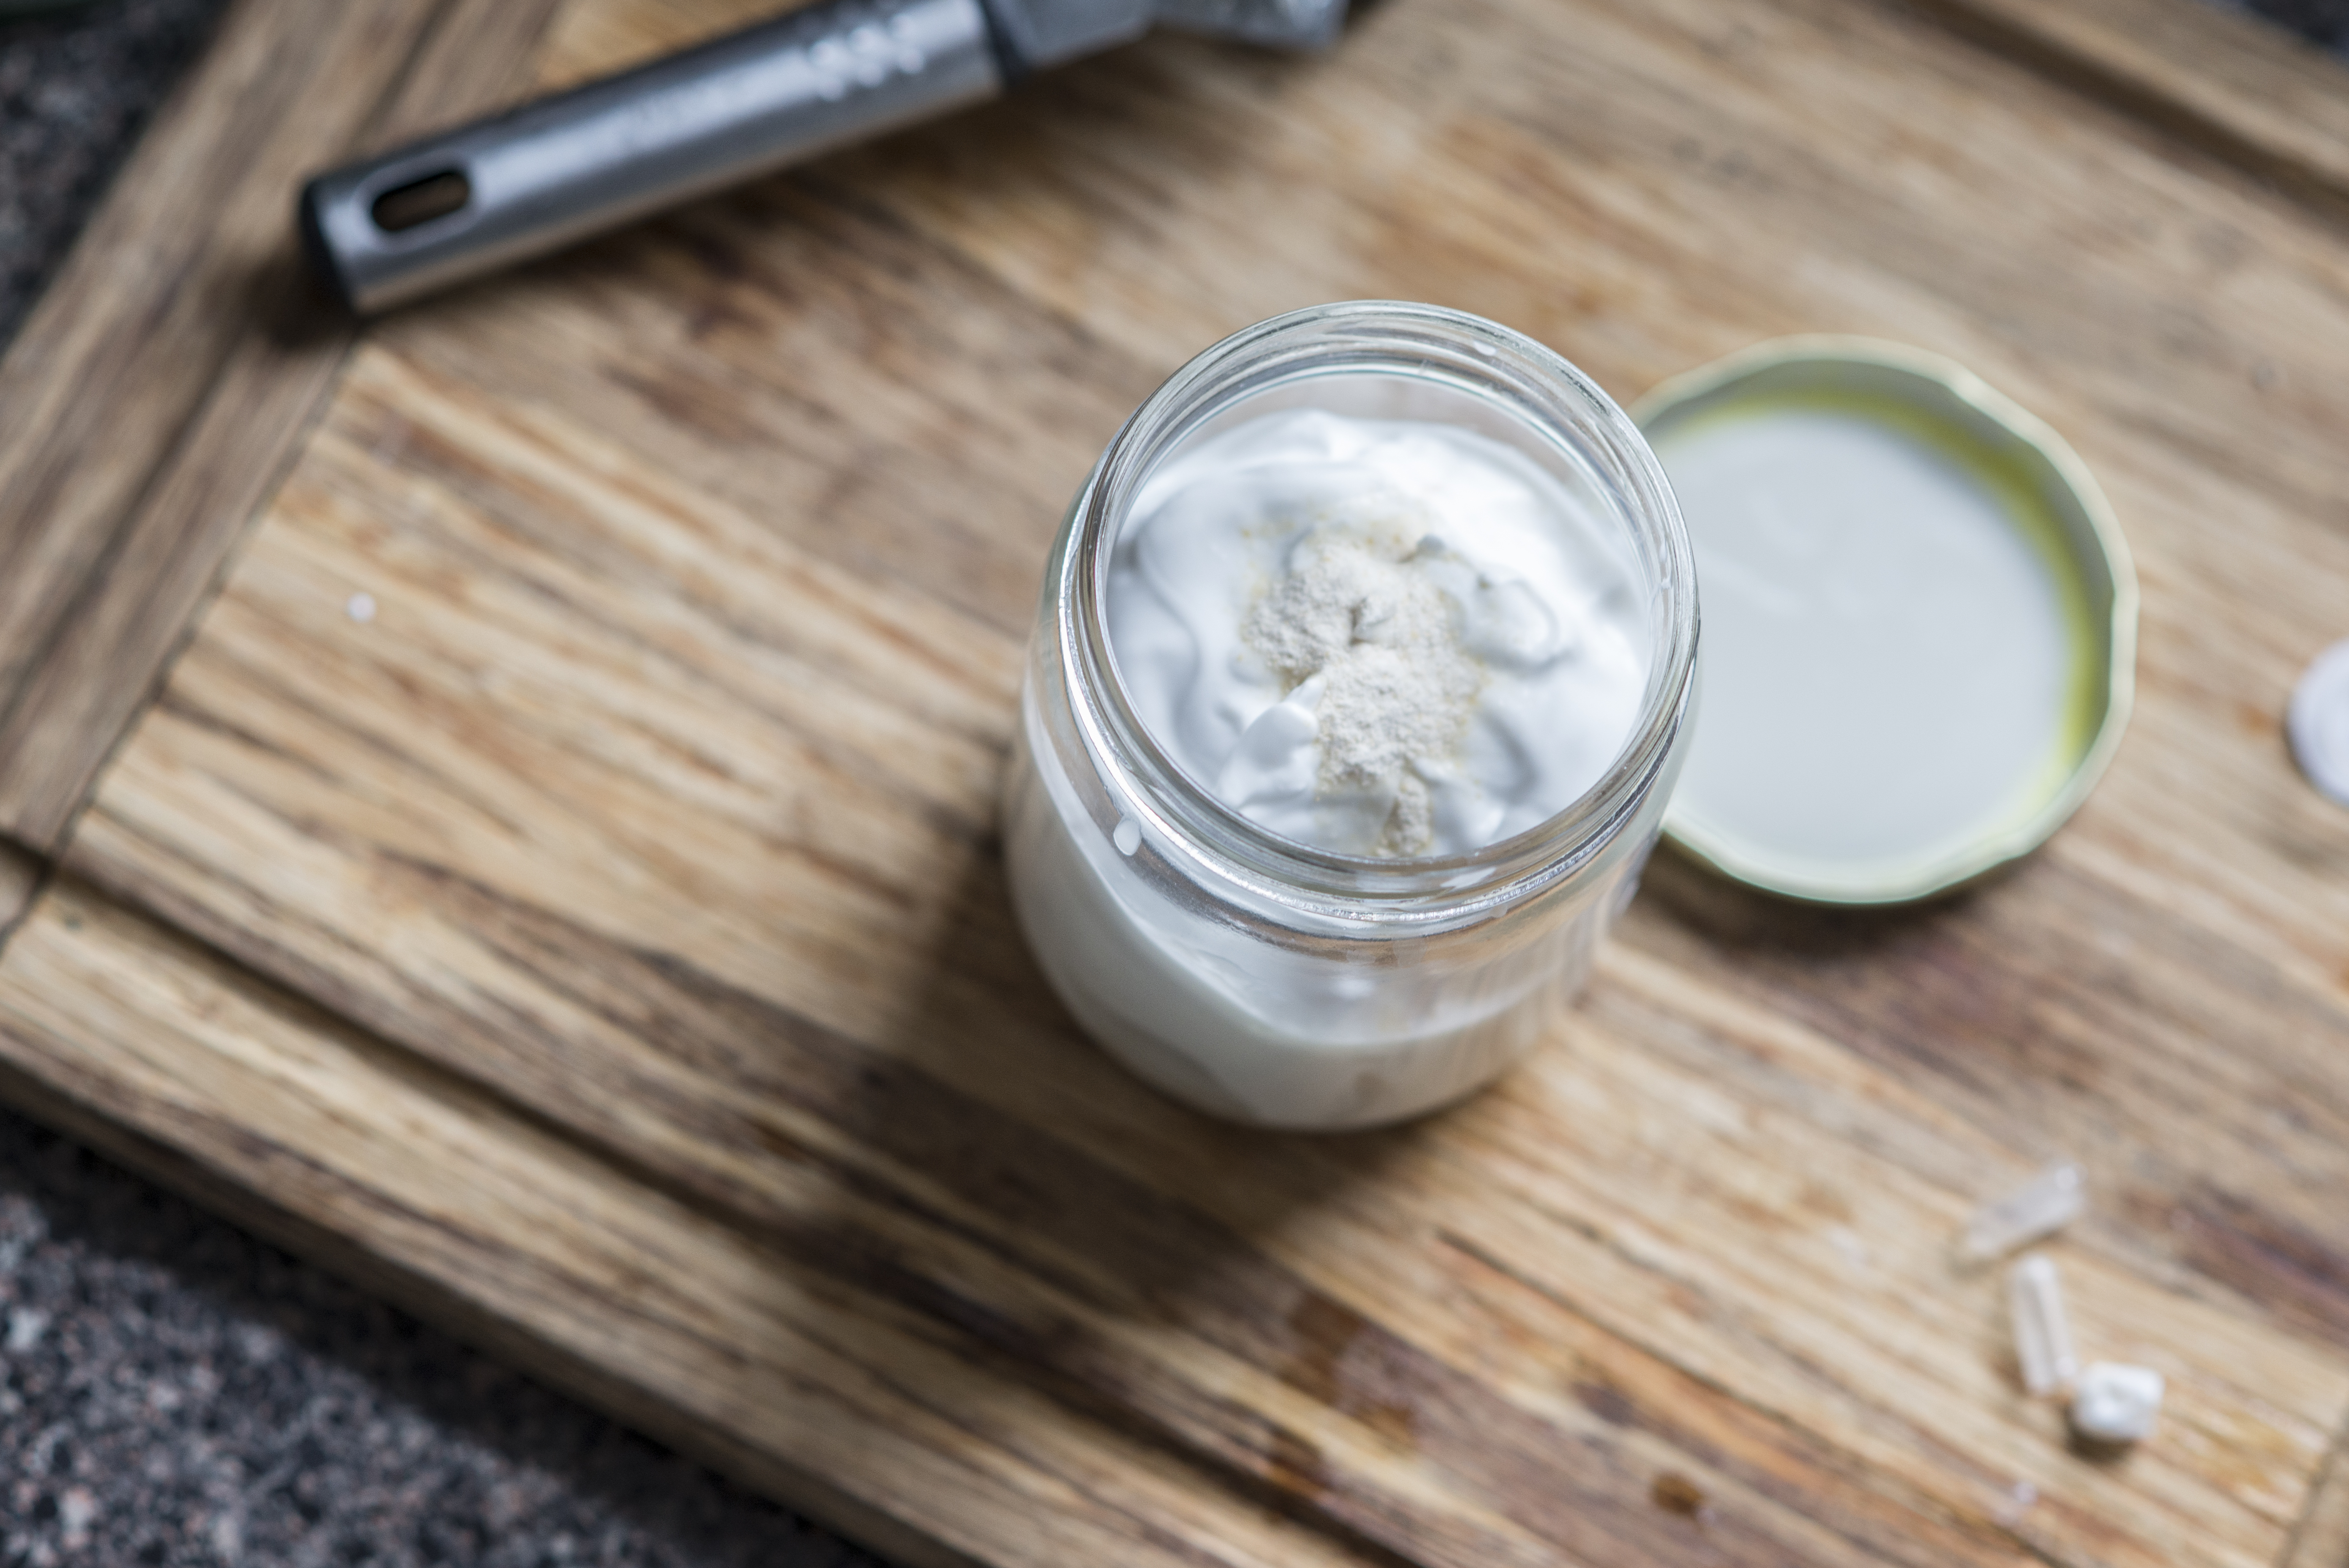
4) Open probiotic capsules and empty contents into cream. Mix thoroughly into cream with fork or small whisk.
5) OPTIONAL: Add 1-2 drops of stevia or teaspoon of honey if you wish for a sweet version (I prefer mine tart and plain, so it is entirely up to preference).
6) Place lid securely on jar, place jar in oven and turn oven light on (note: no heating required, leave the oven at room temperature). Allow yogurt to ferment 12-24 hours in oven, keeping light on. The time depends on your taste preference. I like to leave mine for 24 hours because I like my yogurt on the tangier side.
And there you have it – yummy, easy-peasy, DIY coconut yogurt that you can have with granola, use as sour cream, or add to smoothies. The possibilities are only limited by your creativity 
* If your yogurt comes out with any discolouration, DO NOT eat! This means that your jar was not sterilized properly. Please make sure the jar, stirring utensil, and cloth are nice and clean so all of your hard work doesn’t go to waste.
Like this recipe? Stay connected with the AHAALiving.com community on Facebook and Twitter for DIY recipes, interviews, eco-friendly tips, and more!


